Editing Toolbars
You can customize the toolbars to your requirements by adding icons, changing their positions or removing the ones you don't need. To do this, right-click to open the context menu and select the option Edit Toolbars.
This opens the Edit Toolbars window which contains all of the available icons.
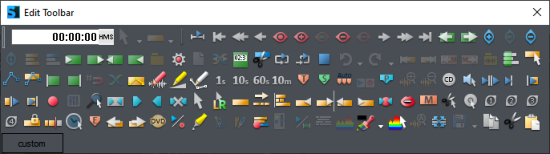
Icons that are already on the toolbars are grayed out. The others you can drag with the mouse to one of the toolbars to add them to the bar.
To remove an icon from a toolbar simply drag it off. To change the arrangement of the icons, drag them to the desired position on the bar.
As long as the Edit Toolbars window is open, clicking on the icons will not trigger any function in the program to avoid unwanted changes in the project.
Tip: You can see the respective functions of these additional buttons best via the tooltips. A tooltip is displayed when you move the mouse pointer and hold it over a button in the dialog box.